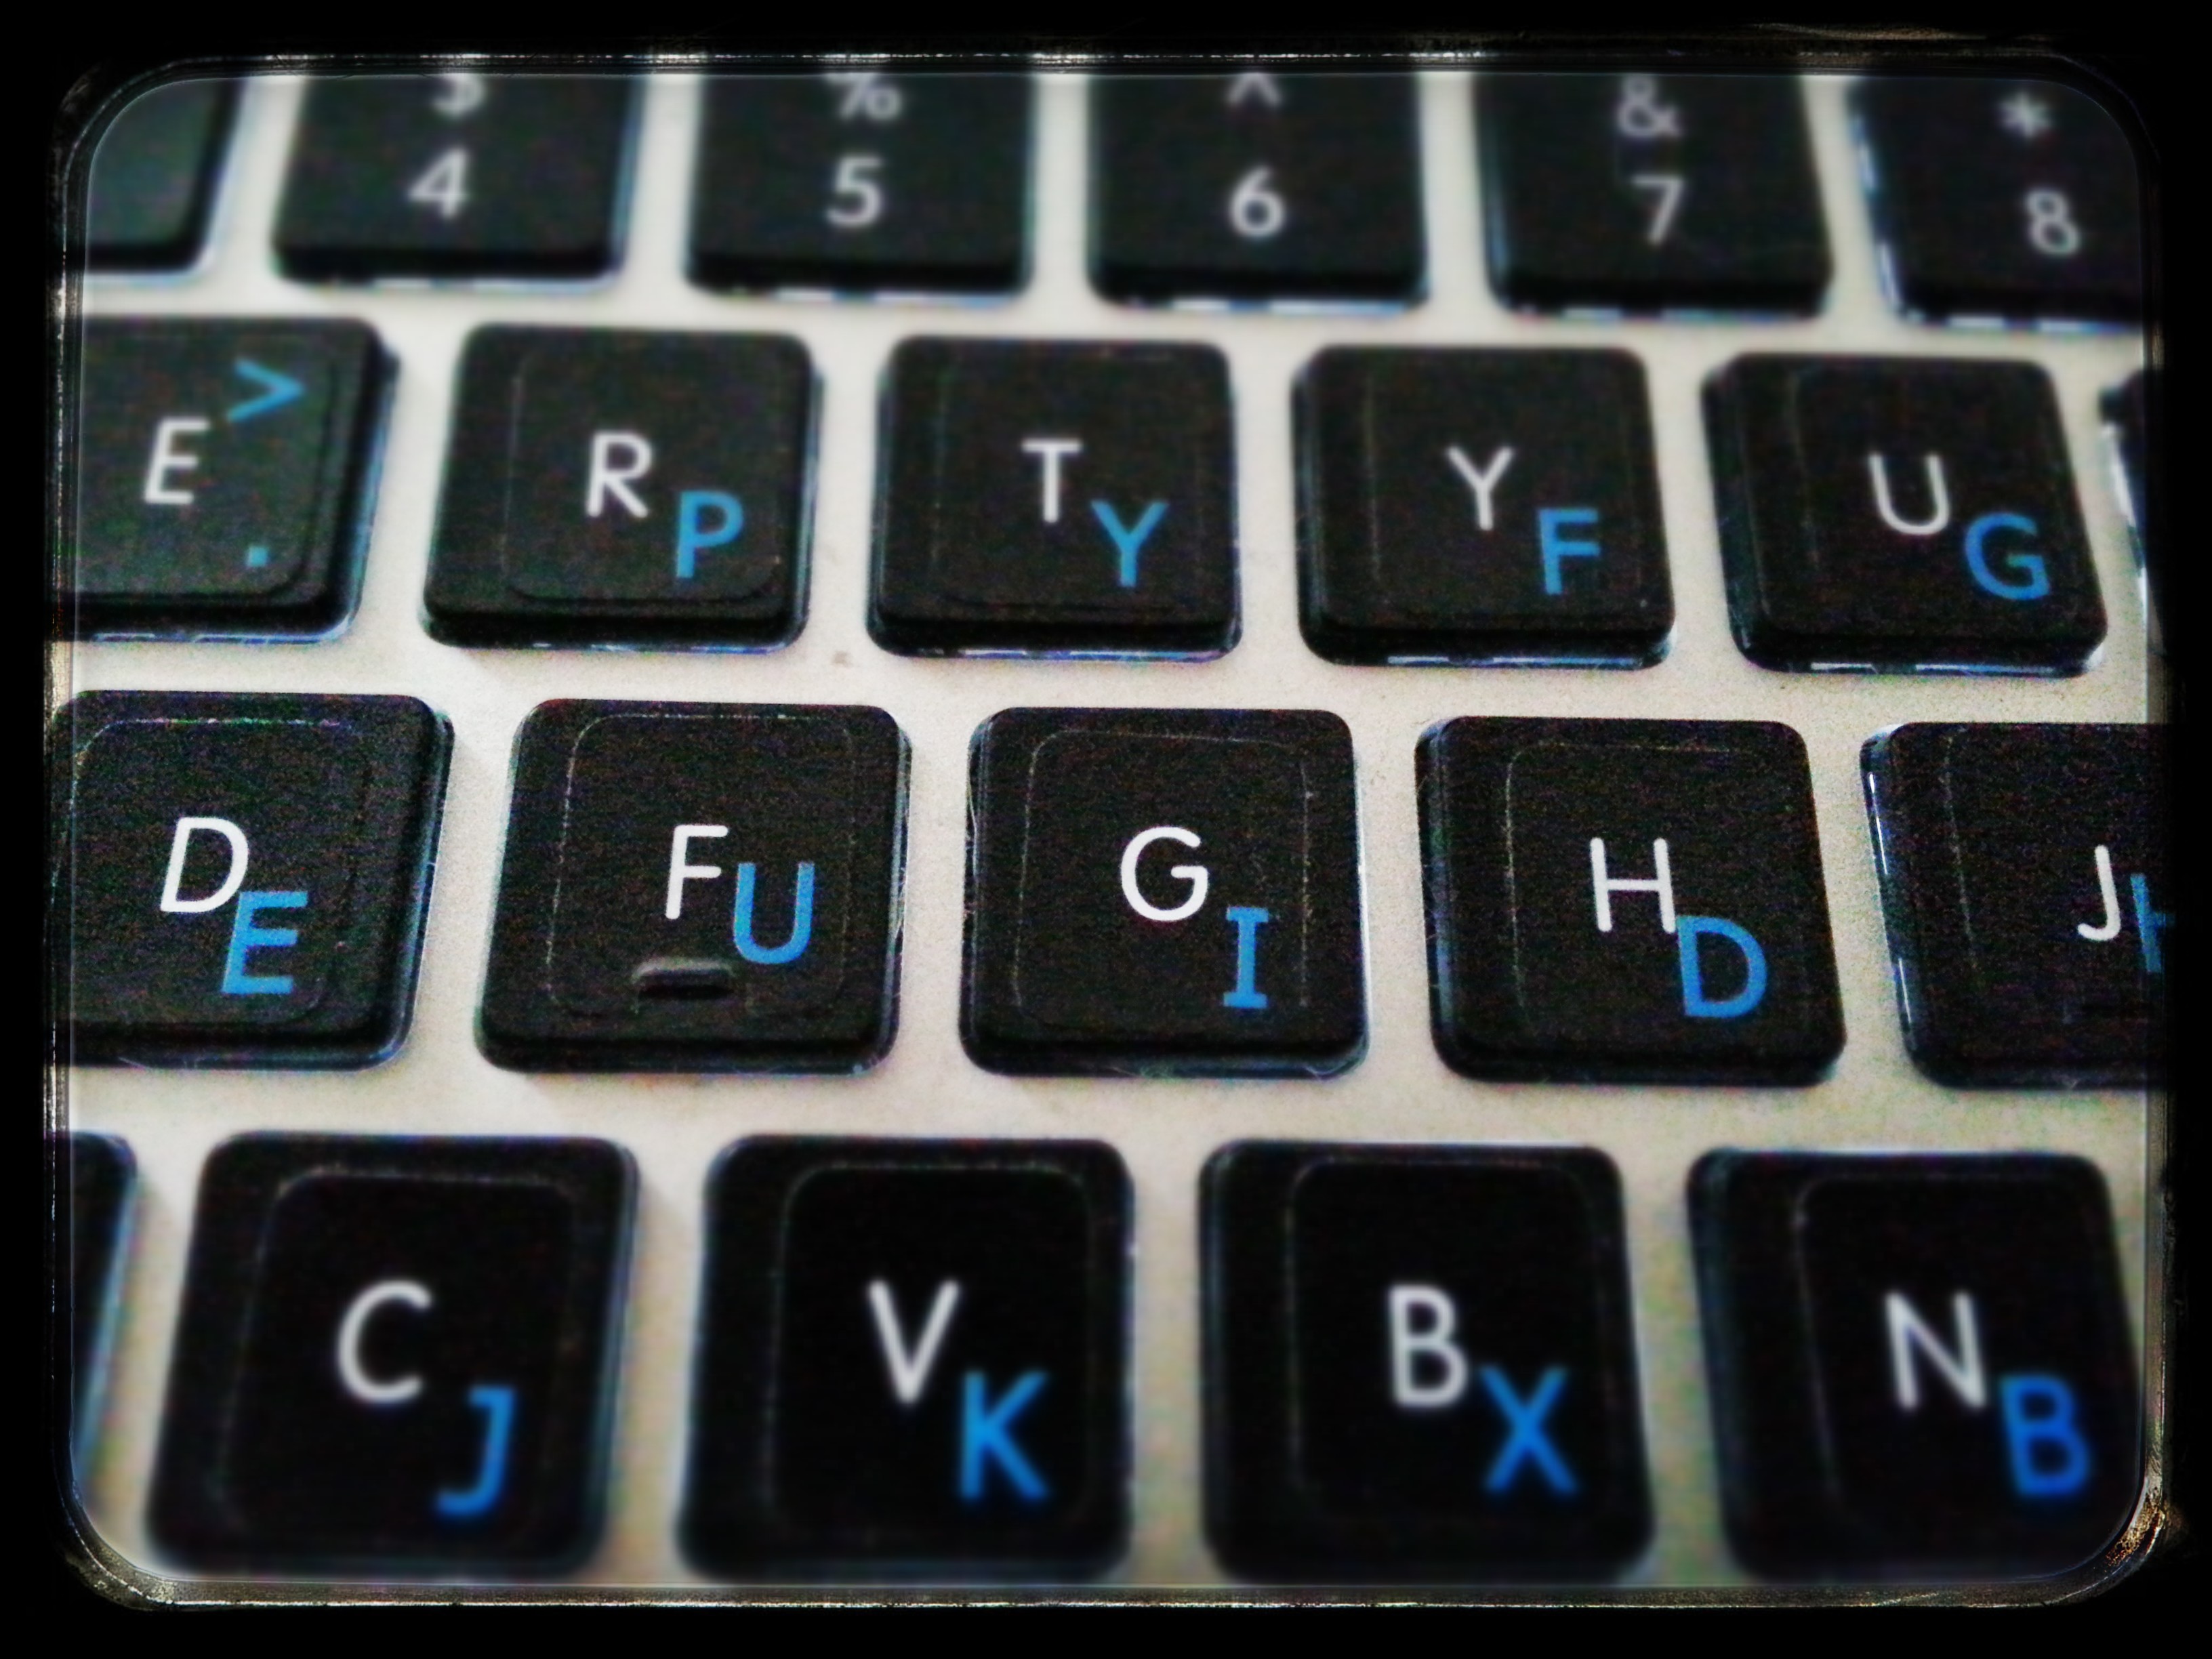
My latest project has been utilizing my art degree (wait, what? An art degree is useful as a software engineer? Surprisingly, YES). Using Inkscape, I created a very customized keyboard as an SVG (Scalable Vector Graphic). There were two things I had to do with this file:
- Embed the SVG into a view inside my AngularJS application.
- Each key element/node needed an
ng-clickattribute so when it was pressed, something would happen. Because, you know, what good is a key if you can’t click on it?
As I discovered, these two tasks are a lot harder than they should be. Putting an SVG into a view is as simple as making the file path the data of an <object> in the HTML. You can add an ng-click to the <object>, but that only works if you want the entire SVG to be clickable. I wanted interactivity inside the SVG itself. Adding ng-click as an attribute within a node in the SVG file will NOT work! To do what I wanted, I neede to use directives to embed the SVG in the view and attach a ng-click attribute to each of my keys.
I found this site that had an interactive map and thought, “Hey, that’s kind of similar to what I want to do!” So, using their insights, I was able to make a clickable keyboard within my AngularJS application. Here’s how I did it:
Add A Class and Unique ID to SVG Nodes
My keys were mainly circle elements with some text on top. I flattened my SVG to one layer to ensure that when a user clicked anywhere inside the circle element, it would trigger a click event. I added a class to each circle element and also updated the id of each circle element to reference its value, like so:
<circle
    r="43"
    cy="569"
    cx="227"
    style="fill:#4d4d4d;stroke:#000000;stroke-width:3"
    id="btn_MENU"
    class="boardKeys" />
Make Two Directives
I just put both directives in the same file: keyDirectives.js.
Directive One: Embed the SVG.
var myApp = angular.module('KeyboardAppModule');

myApp.directive('svgKeys', ['$compile', function($compile) {
    return {
        restrict: 'A',
        templateUrl: 'images/keyboard.svg',
        link: function(scope, element, attrs) {
            var keys = element[0].querySelectorAll('.boardKeys');
            angular.forEach(keys, function(path, key) {
            var myKey = angular.element(path);
            myKey.attr("myKey", "");
            $compile(myKey)(scope);
            })
        }
    }
}]);
Notice these details: var keys is an array of all elements with the class boardKeys…the same class I attached to each circle element (key) inside my SVG. For each of these circles, the directive adds the attribute myKey which is really the name of Directive Two. Directive Two is then initiated. But first, since I now have the directive that places the SVG into the view, take a look at the view’s HTML:
    <div class="row">
        <div class="col-sm-8 col-sm-offset-2">
            <div svgKeys></div>
        </div>
    </div>
See how I just threw that directive in there? That’ll just embed the SVG in that div! Woohoo! But wait, I still need to register clicking a key.
Directive Two: Add ng-click to all keys.
myApp.directive('myKey', ['$compile', function($compile) {
    return {
        restrict: 'A',
        scope: true,
        link: function (scope, element, attrs) {
            scope.elementId = element.attr("id");
            scope.keyClick = function() {
                scope.pressKey(scope.elementId);
            };
            element.attr("ng-click", "keyClick()");
            element.removeAttr("myKey");
            $compile(element)(scope);
        }
    }
}]);
So, Directive One added the myKey directive to each key, which then calls Directive Two, which adds the ng-click attribute to each key. For me, I used a function called pressKey() in my controller. It’s accessible via scope and I felt that my controller is where someone would look to see what happens when a button is clicked. You could just as well define what should happen when a key is clicked here in the directive. Also notice that I pass scope.elementId to my pressKey function. scope.elementId is the key’s ID! So, now I know which key was clicked and can handle the case as needed!
FIN
It obviously doesn’t take a lot of code to make an SVG file’s elements interactive in Angular, but it’s certainly not intuitive. Nonetheless, it’s great that this code works and I’m excited for my next Angular application with interactive SVGs!